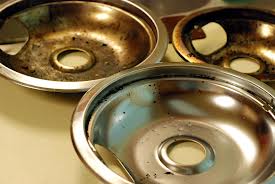
How to Clean Stove Burner Pans
If you have an electric stove with metal catch pans, here are some ideas on how to clean stove burner pans (how to clean stove element pans and how to clean gas stove burner tops as well) Â and make them shine once more.
Throwing them in the dishwasher after a spill is likely the easiest way but if you are moving into a rental unit for example, where the cleaning has been poor and you want to get the stove top cleanliness up to a high standard, here are some ways to do so.
Baked on food on a stove top or element pan is one of the most difficult things to clean. Soaking the pans is really your first and easiest choice for how to clean stove burner pans, using hot water and dish soap. Let soak as long as you can then use a scour pad to remove as much cooked on food as possible.
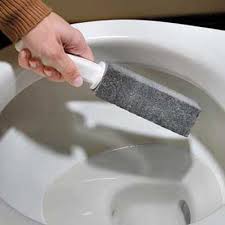
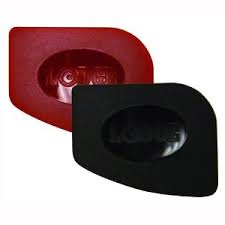
An essential item to have in your kitchen is a kitchen scraper (hard plastic scraper – See below) that can be used to remove any cooked on food from cookie sheets to pots and pans. You can use the scraper on practically any surface with food gunk stuck on it. It is a good first choice before bringing out the heavy chemicals. Using oven cleaners or strong chemicals like ammonia should be your last resort.
Typically, oven cleaners contain lye (sodium hydroxide) which is corrosive and will damage exposed skin so always wear gloves when using these products.
Ammonia can also be used for heavy duty burnt on food removal. However, ammonia is toxic to aquatic animals and it is classified as dangerous for the environment. Always try to use good old fashioned elbow grease and less toxic chemicals first before bringing out the heavy guns.
That being said, sometimes just plain effort is just not enough. If that is the case for your element pans, try this for a speed cleaning tip, but only use one cleaning chemical or the other, NOT both:
- Put your element pans in a plastic bag and put a little ammonia OR oven cleaner (never use both) in the bag and seat it.
- Leave overnight.
- In a well ventilated area and wearing gloves, remove pans from bag and rinse well.
- Scrub any remaining stuck on food with the kichen scrubber or plastic kitchen scraper.
Learning how to clean stove burner pans can help you keep your kitchen clean. It is easy to do if you just follow the above steps.